Importing Measurement Text Files
There are two broad categories of measurements that can be imported into MSO:
- individual sub and main speaker measurements that are used as part of the optimization process and must be imported to set up your project for optimization.
- measurements that aren't part of the the optimization process, but are used only for plotting. These are the so-called plot-only measurements, which are used to verify that MSO's predicted frequency responses match the final measured responses after the DSP is loaded with filter, gain and delay data.
For measurements used in optimization, there are several options for importing.
-
Use the Measurement Import Wizard. This is the recommended approach.
- To invoke the Measurement Import Wizard, choose File, Measurement Import Wizard from the main menu.
-
Use entries in the main menu or context menus in the Data View to manually import the data. These options include the following.
- From the File menu, choose Import Sub Measurements or Import Mains Measurements.
- Select the Data View tab. In the Data View, right-click on the Subs node (under the Measurements node) and choose Import Sub Measurements from the context menu. Importing main speaker measurements using this method is done in a similar way.
For plot-only measurements, you have the following options.
- From the File menu, choose Import Plot-Only Measurements.
- Select the Data View tab. In the Data View, right-click on the For Plotting Only node (under the Measurements node) and choose Import Plot-Only Measurements from the context menu.
Sub and Mains Measurements vs. Plot-Only Measurements
When you import sub or mains measurements, these are used for the purpose of optimization. Plot-only measurements can only be used for plotting. This latter application is useful for after you've completed your MSO project setup, run your optimization, loaded the filter parameter values determined by MSO into your DSP hardware and are ready to perform measurements of the optimized system. You would then perform the desired measurements of your system with all the subs energized at once and export the measurements as text files from your measurement software. You can then import them as plot-only measurements and plot them on the same graph that shows what this measurement is predicted to be.
Performing the Import
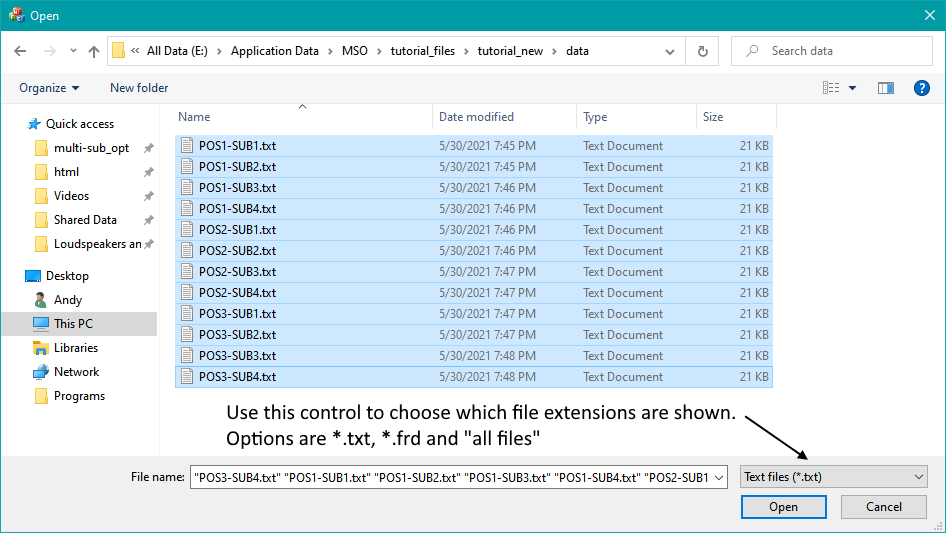
After choosing to import files, or if you're running the Measurement Import Wizard, you'll be presented with a File Open dialog that allows selection of multiple files at once. The default extension for import is ".txt". If you exported all your measurements at once using the previous instructions, they will have a ".txt" extension. If you exported them with a different extension, choose the appropriate extension in the combo box above the Open and Cancel buttons as shown below.
When each measurement is first imported, it is given the same name as the file that originally contained its data. You can rename any measurement after it's been imported by selecting it in the Data View and pressing F2 to edit its name in place. You can also right-click the measurement and choose Rename from the context menu, or select it, then click a second time to activate an in-place edit control (same as in Windows Explorer). For almost all cases, you won't need to do this though. It is better to decide the file names (which then become the measurement names) in advance at the time you enter measurement names into REW before exporting them. See the tutorial discussion of measurement naming for how to choose the measurement names to make the usage of the Configuration Wizard easier.
You can examine a copy of the imported text file by right-clicking on the measurement name and choosing Show Imported Text. This information is a copy of the original file on disk and is always stored internally in the project file itself for viewing at any time. The original files need not be present on disk to view the imported text. Short but descriptive names should be chosen for the measurements, with text referring to both the listening position and the loudspeaker that was measured.
Extra Safeguards When Running the Measurement Import Wizard
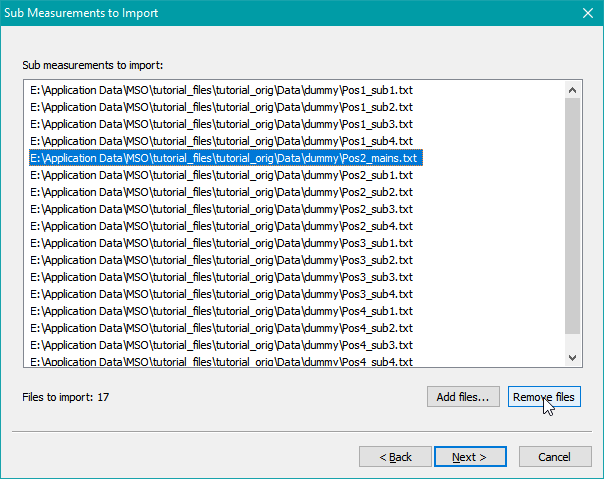
When using the Measurement Import Wizard to import measurements, there are extra safeguards to help prevent errors. For instance, if you use the manual approach for importing measurements without the wizard, the measurements will be imported right away when the Open button shown in the dialog above is clicked. But with the Measurement Import Wizard, clicking Open only adds the files to a list. This list can be edited to add or remove measurements as needed, to make sure you have all the right measurements and none of the wrong ones. The import itself is not done until you press the wizard's Finish button. The figure below shows a file list containing a main speaker measurement that was accidentally chosen in the File Open dialog when importing sub measurements. It can be removed from the list as shown below.
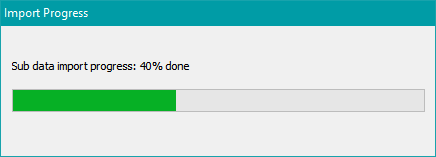
While the measurements are being imported, a progress dialog is shown as below.